


It's tax season, which also means it’s paper filing season.
Instead of fighting or resisting the chaos of our systems, let’s focus on streamlining them. If the “today version of you” focuses on setting up a system, “tomorrow you” will be so grateful.
There was a time in my life when I felt challenged by locating all of my necessary papers to apply for a job, a marriage license, or a visa to live abroad. I had my social security card and birth certificates in one city and my passport in an unknown drawer in a different city. It was a “just give me an hour or two and I will find it type of situation,” which never feels good.
I have gone through a few different iterations of how I like my files stored and let me tell you this: less is more.
My original method was a binder. This worked well for me until I had too many papers. Then, I had a filing cabinet. This worked well while my husband had a lot of paperwork for his job. However, the drawback was that more space inevitably meant more stuff. Ultimately, the filing cabinet didn’t work for us because it encouraged holding on to papers we didn’t need, making it harder to locate the papers we did need when we needed them.
I downsized and evolved back to a binder and then I downsized some more and am down to a binder that could (and should) be a single folder.
How? Decluttering and digitizing, baby!
1. Discern what papers are important to keep.
The first round of culling through the papers should be a speed round. Old receipts, old school work, and other things that don’t excite you or feel useful to you can go straight to the trash. If you have any doubt you might need something, go ahead and hold onto it until later. The goal of this round is to eliminate as much clutter and/or garbage as possible.
2. Sort the papers by category
The second round of culling might take you a bit longer. I suspect it might take you a lot longer. This is the round where you need to sort your papers into piles. My piles looked like this: taxes, medical, dental, eye care, home, auto, and “sentimental” or miscellaneous. Pull out anything else that you feel like you don’t need or don’t want to revisit. This is a good time to see what papers can be accessed online. Make sure you can access papers online before destroying your copies. I made a cheat sheet for how to get onto my insurance websites instead of holding onto bulky manuals that are available in apps or online.
3. Organize your papers for upload
The goal of this step is to organize your files so that they are easy to upload and then digitally organize. It is important to note here that:
you can upload multiple paper documents at one time and they can be uploaded to your computer more efficiently.
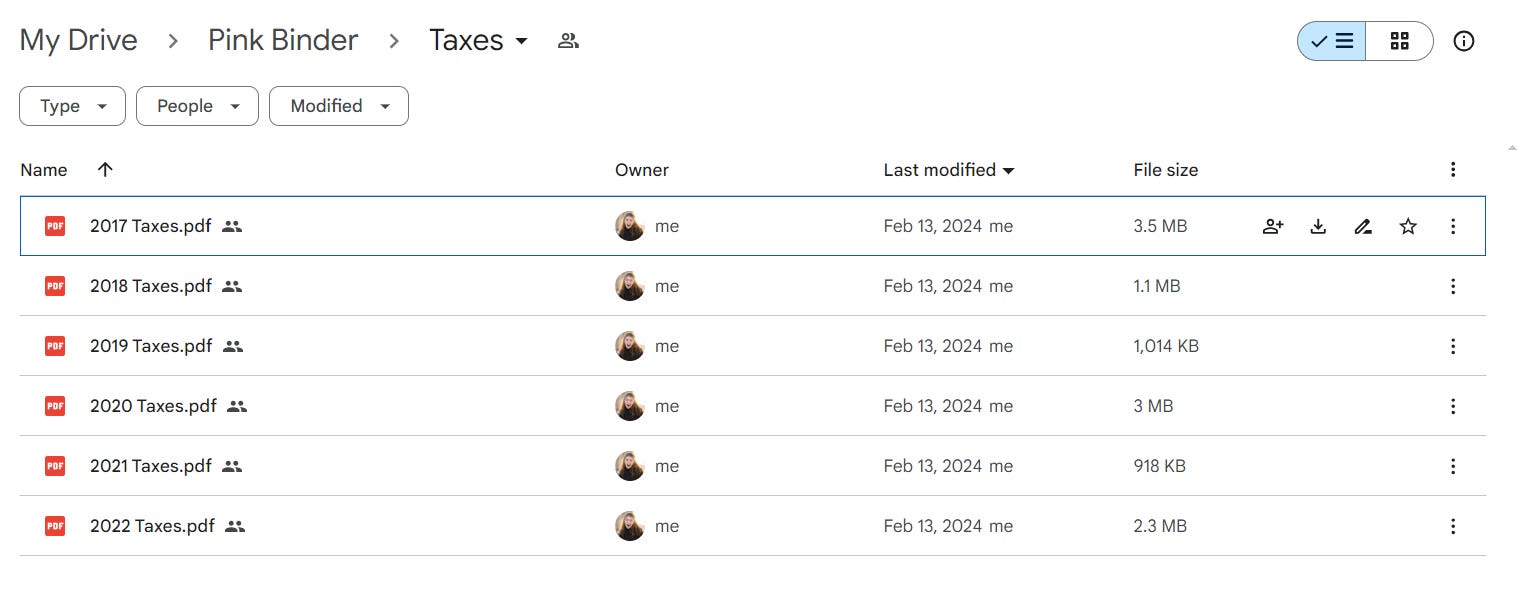
For example, I uploaded all of my taxes by year, making them in one PDF file. If I ever needed just one page of the documents I could use a handy PDF-separator website to extract only the pages I need.
4. Scan and upload
Now for the technical part. If you have a home scanner, I can tell you that a visit to your local library will most likely be worth the trip for access to an industrial-style copy machine. The time you will save using this style of machine will make up for the inconvenience of going to the library.

Start by selecting the option to “scan to email”, then type in your email address.
If your papers are all a standard 8.5x11 sized file putting them in the top loader will be the quickest way to go. Pay attention to your settings so it is copying single or double-sided depending on what you need.
If you have a handful of irregular-sized papers (I’m looking at you, taxes!) it is best to put them in the glass copy part of the copy machine. You can scan one paper at one time, but consecutively, which will allow them to upload all together in a single PDF. This will make organizing easier on the digital side of things. Typically the machine will tell you that you have 60 seconds to scan the next paper or press # to complete the scan for it to be sent to your email.
If you are stuck on how to do this, chances are your librarian will be happy to help you.
5. Digitally organize
Your documents will be scanned directly to your email. From your email, you can download your documents and then upload them to a digital cloud.
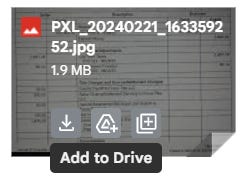
If you are using gmail, you already have a Google Drive account. When you receive an email with one of your scans, at the bottom of the email it will show up as an attachment. You can either click the “download” button on the left to download your document to your hard drive or you can click the triangle button in the middle to “add to drive”. This will add it directly to your Google Drive associated with your gmail account.
If you are more comfortable saving them to a hard drive You can be super safe and upload them to your cloud, save them to your email, and a cloud server, as well as keep them on your desktop/ computer hard drive. Just be careful here not to overdue it and have a digital mess.
Once you have all of your documents uploaded to Google Drive, it is important to relabel your documents appropriately so that you can access them easily.
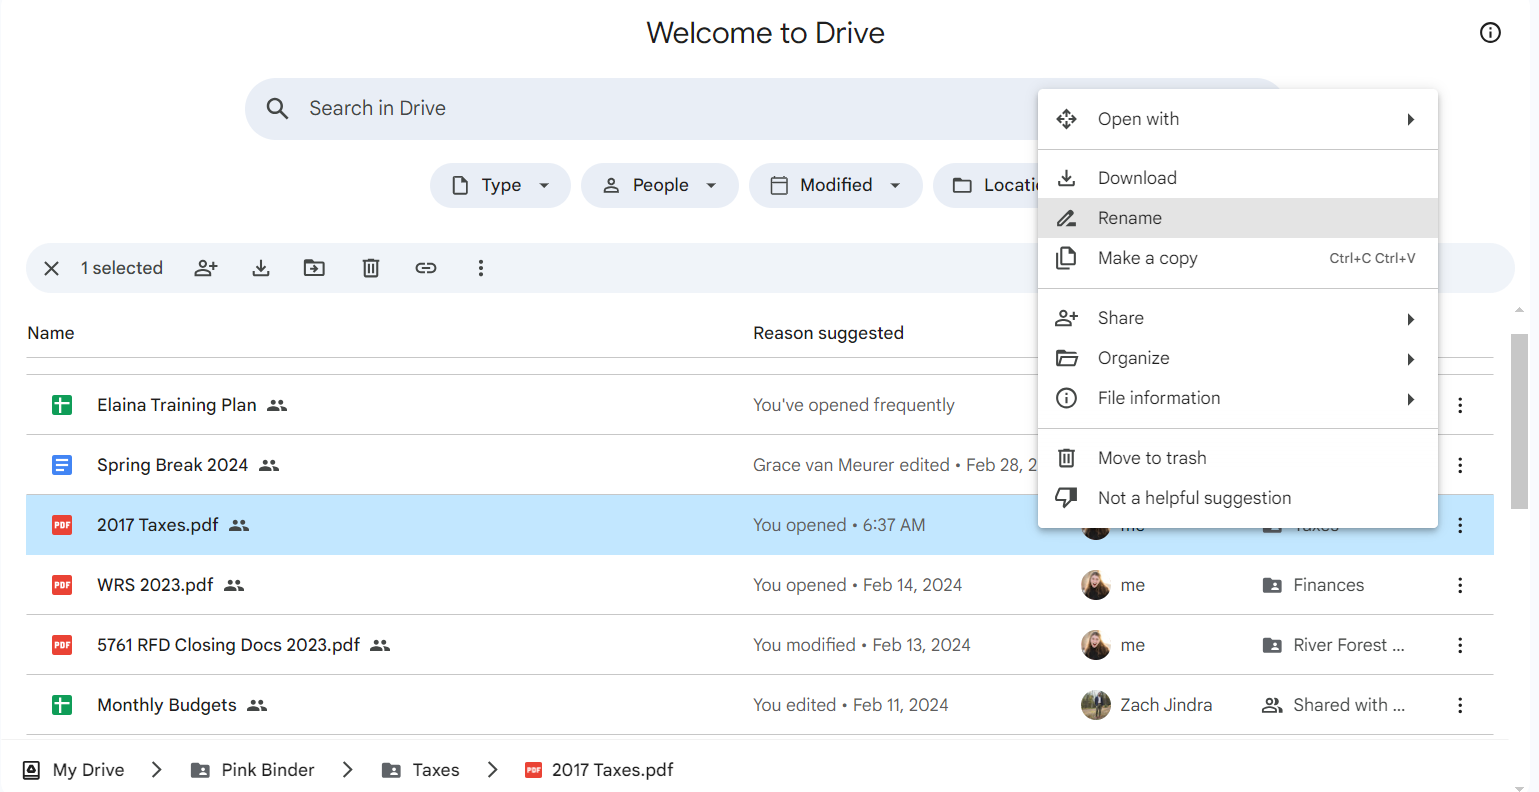
You can also make folders by clicking “new” and then “new folder” in the left-hand corner of your Google Drive screen.
Oila! All of your paper files are organized on your computer.
The last step of this is to maintain your digital organization system and to shred your important papers that you no longer need. Hooray!
As for your remaining papers? Hopefully, you just have the important stuff. Truly important papers (passports, social security cards, original certificates…birth, death, car titles, etc). Those should go in a waterproof/fireproof safe or pouch.
The minimalist in me likes this pouch or this binder. Thinking about taking them to go in case of an emergency or having them handy during a move makes the lighter nature of these more appealing than a whole filing cabinet or safe.
Happy Organizing!
Laine
+1 for digitally storing tax records. My CPA requires me to upload my files, so they all have to get digitized anyhow. I use my phone's camera and the Dropbox app to "scan" papers, which works better than you'd think. I only do this for papers that aren't available online (W-2s, notices from the government ,etc). Then everything goes into a Dropbox folder labeled by year and I shred the originals. I have folders going back almost 20(!) years.